How to Make Almost* Anything | MAS.863
Ella Peinovich | M.Arch Level III, MIT
Ella Peinovich | M.Arch Level III, MIT
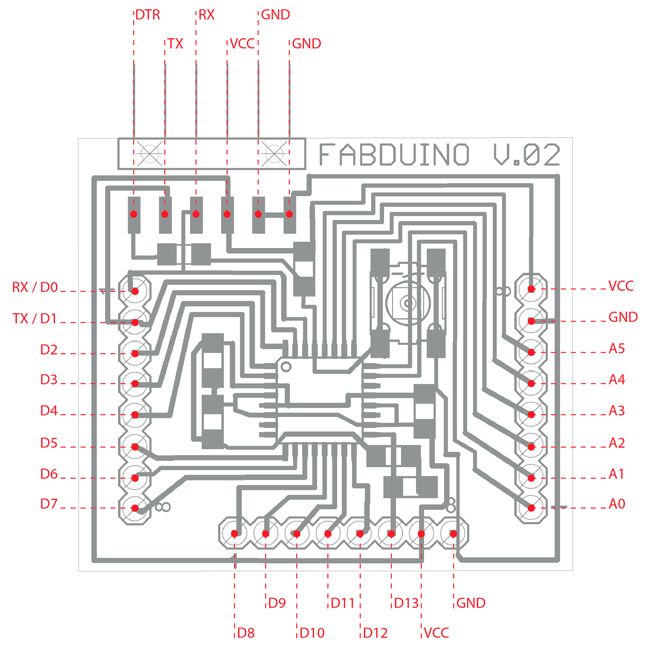
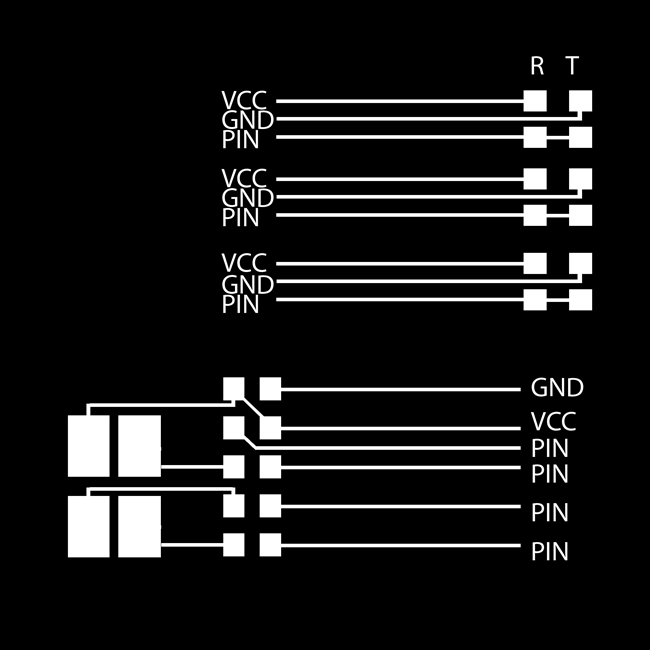
Fabduino pin assignments
 Building the plug and play fabable arduino board.
After my failure to program my sensor to LED board from two weeks ago, I thought to focus on the programming this week and after some research decided on using the Arduino program to write to my boards, it is in a more similar syntax to other scripting software I have used and has a really great forum and resources to tap into, which I assume I will need.
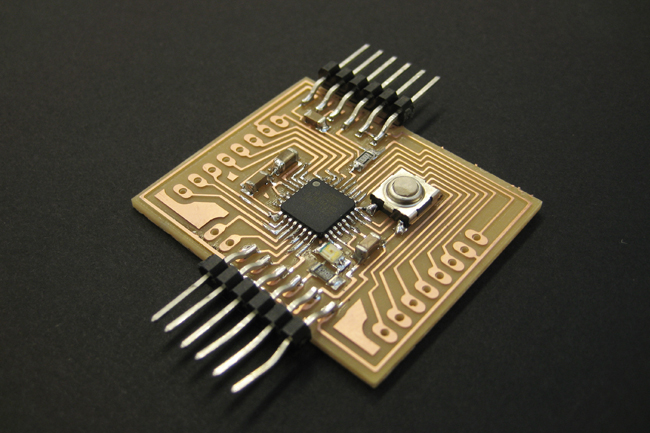
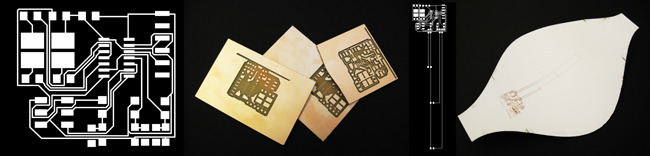
In keeping with Neil's goal to make from scratch all of the boards we use in class, Ed designed a fabable Arduino board for everyone to use. Using the artwork, provided by designer Ed Baafi in the class, I was able to mill the surfaces traces of the board. Unclear on how to change the step up height settings I went in and manually drilled each through hole. making sure to zero the bit at the surface of the material and then incrementally step the drill down and up again as needed per the depth of the board material, about .65 inches. After stuffing and programming the microcontroller with the bootloader that Ed created, I am ready to use my fabduino.
Through the Arduino software I hope to be able to easily edit and trouble shoot my own boards.
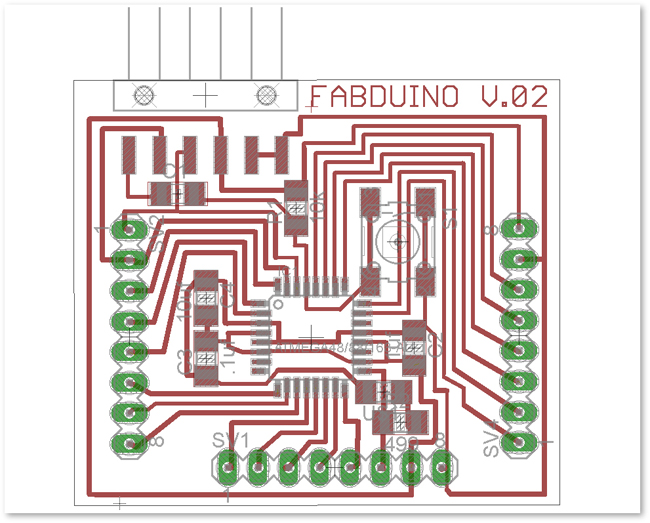
For the Eagle files, see creator Ed Baafi's Site.
RGB LED
For my personalized curcuit board this week, I decided take a stab again at the transistor to LED board I designed for two weeks ago, but instead of 3 seperate LEDs using the RGB LED.
After many failed attempts to get a milled curcuit board (first the traces were too thin, then the fab modules continually reset the drill RPM to 5000 from 20000, breaking many bits) I then redesigned the layout and tried vinyl cutting (leading to many hours or weeding pourly cut traces). With nothing working I looked to use the fabduino.
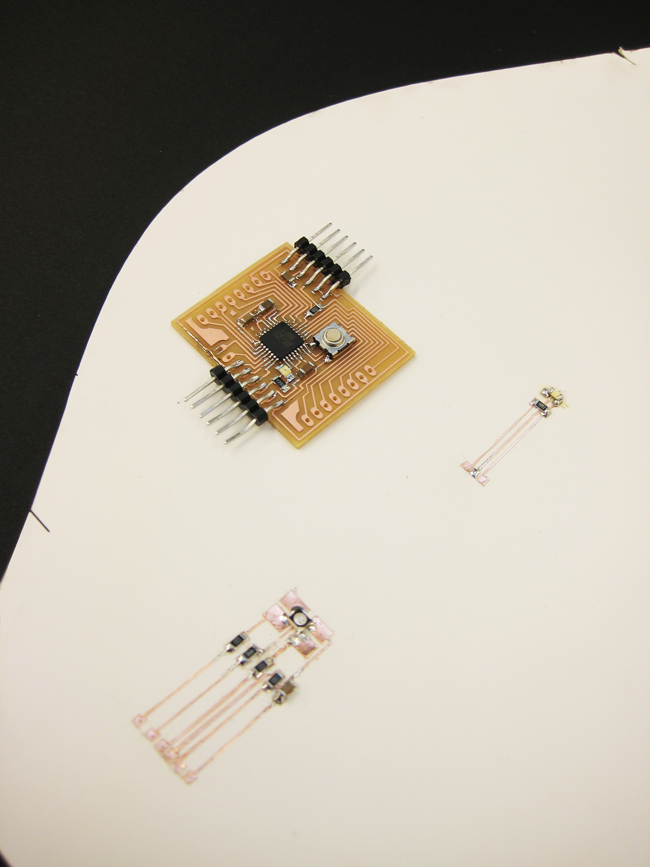
Now set-up with Arduino software along with my Fabduino hardware I hope to create and write to smaller plug-in boards that serve the individual function of output or input. Scaling back I paired down the input and output to one sensor and one RGB LED in order to get to a proof of concept model. I then fabricate the newly designed boards and ... began documenting..
In conclusion, having spend too much time trying to fabricate the boards, I could only begin to think about the programming this week.